Planning new cabinets in Orland Park or the surrounding area? Your own measurements can be a useful starting point for a cabinet design consultation. They help show the size and shape of the kitchen cabinets before layout planning begins. However, final dimensions, appliance clearances, wall conditions, and installation requirements should be carefully verified before cabinets are ordered.
Measuring for new cabinets also involves more than finding the length of each wall. Windows, doors, ceiling height, plumbing, electrical connections, appliances, corners, soffits, and traffic flow can all affect the final layout. Here’s how to measure for kitchen cabinets, what to record, and where professional cabinet planning becomes important.
What You Need to Measure Your Kitchen
You do not need complicated equipment to take useful preliminary kitchen cabinet measurements.
- A tape measure, pencil, paper, straightedge & calculator are enough for most kitchens.
- A laser measure can also be useful for longer walls.
- Keep your phone nearby and take photos as you work.
- Record dimensions in inches whenever possible.
- Photograph each wall, appliance area, utility connection, and unusual feature; they give a designer useful context.
- Cabinet sizes are commonly planned in inches, so using one system makes the layout easier to review.
Create a Rough Kitchen Layout
Start by drawing a simple overhead view of the kitchen. It does not need to be perfectly to scale. The goal is to create a clear map where every measurement can be recorded.
Show all walls, doors, windows, appliances, soffits, columns, openings, and other fixed features. Label the walls as Wall A, Wall B, Wall C, and so on. If the kitchen opens into a dining area, family room, hallway, or another space, show those openings too.
When measuring the kitchen layout, think beyond the walls where cabinets currently sit. Nearby openings and walkways can affect island placement, appliance access, cabinet door movement, and overall kitchen flow.
Kitchen Measurement Checklist
Before a cabinet layout is finalized, your measurements should account for:
- Each wall from corner to corner
- Doors, windows, and open passages
- Ceiling height
- Soffits, beams, and bulkheads
- Plumbing locations
- Electrical outlets and appliance connections
- Gas lines and ventilation
- Refrigerator, range, dishwasher, and built-in appliances
- Corners and unusual wall angles
- Existing islands or peninsulas
- Main walkways and traffic paths
- Features that may affect cabinet or countertop clearance
1. Measure the Overall Length of Each Wall
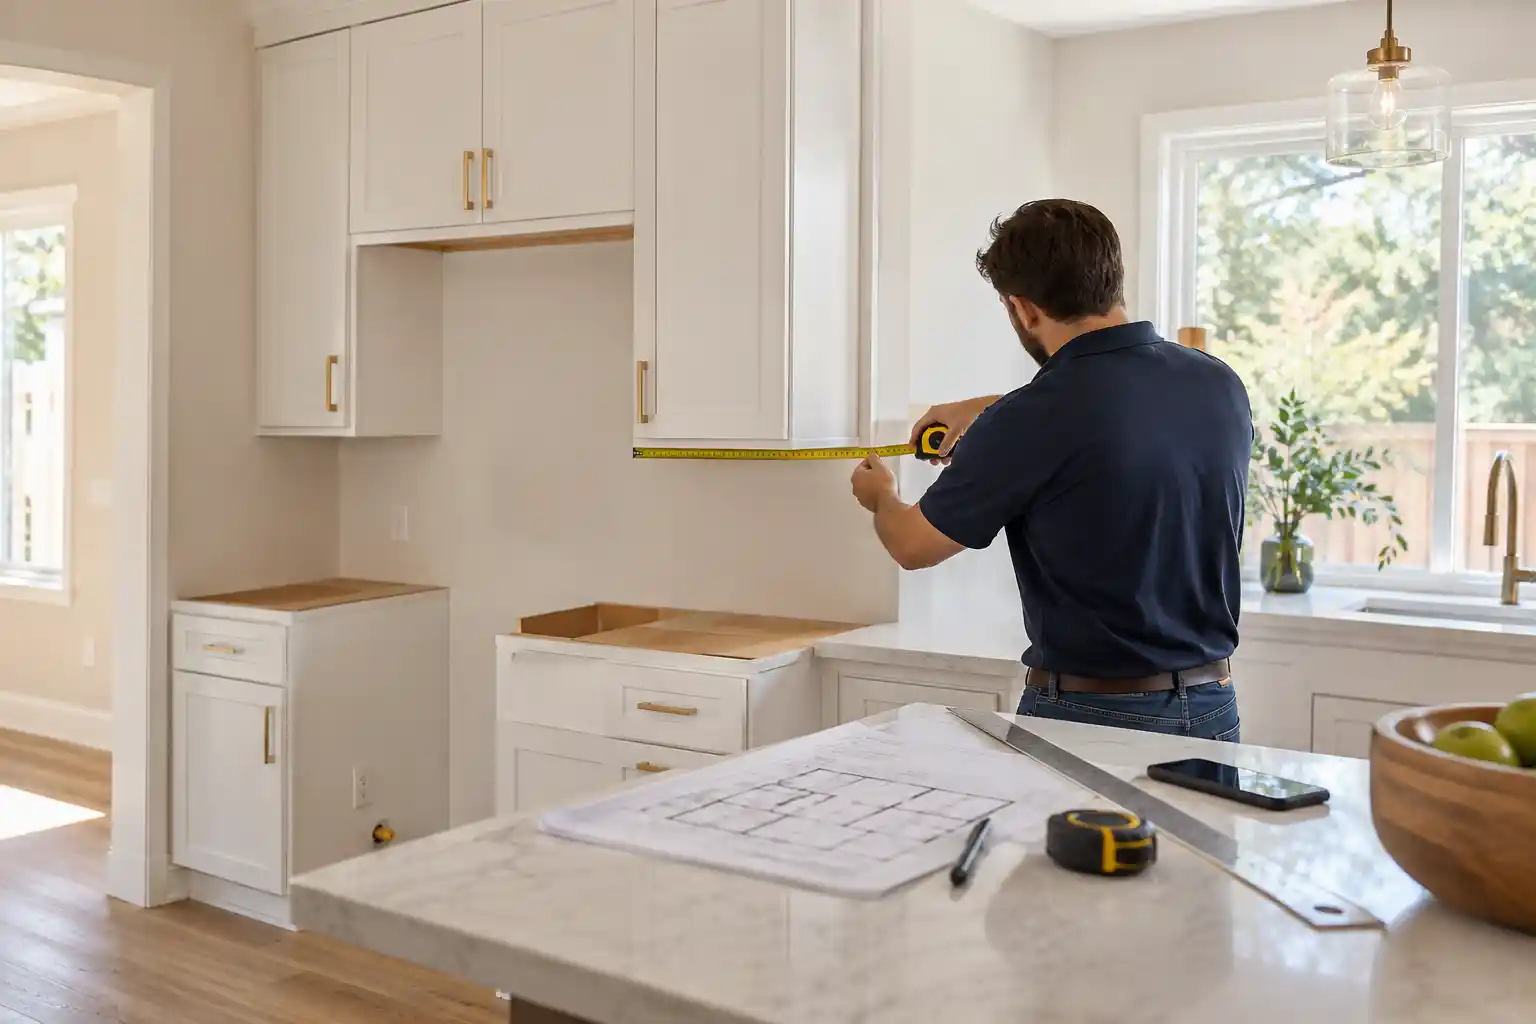
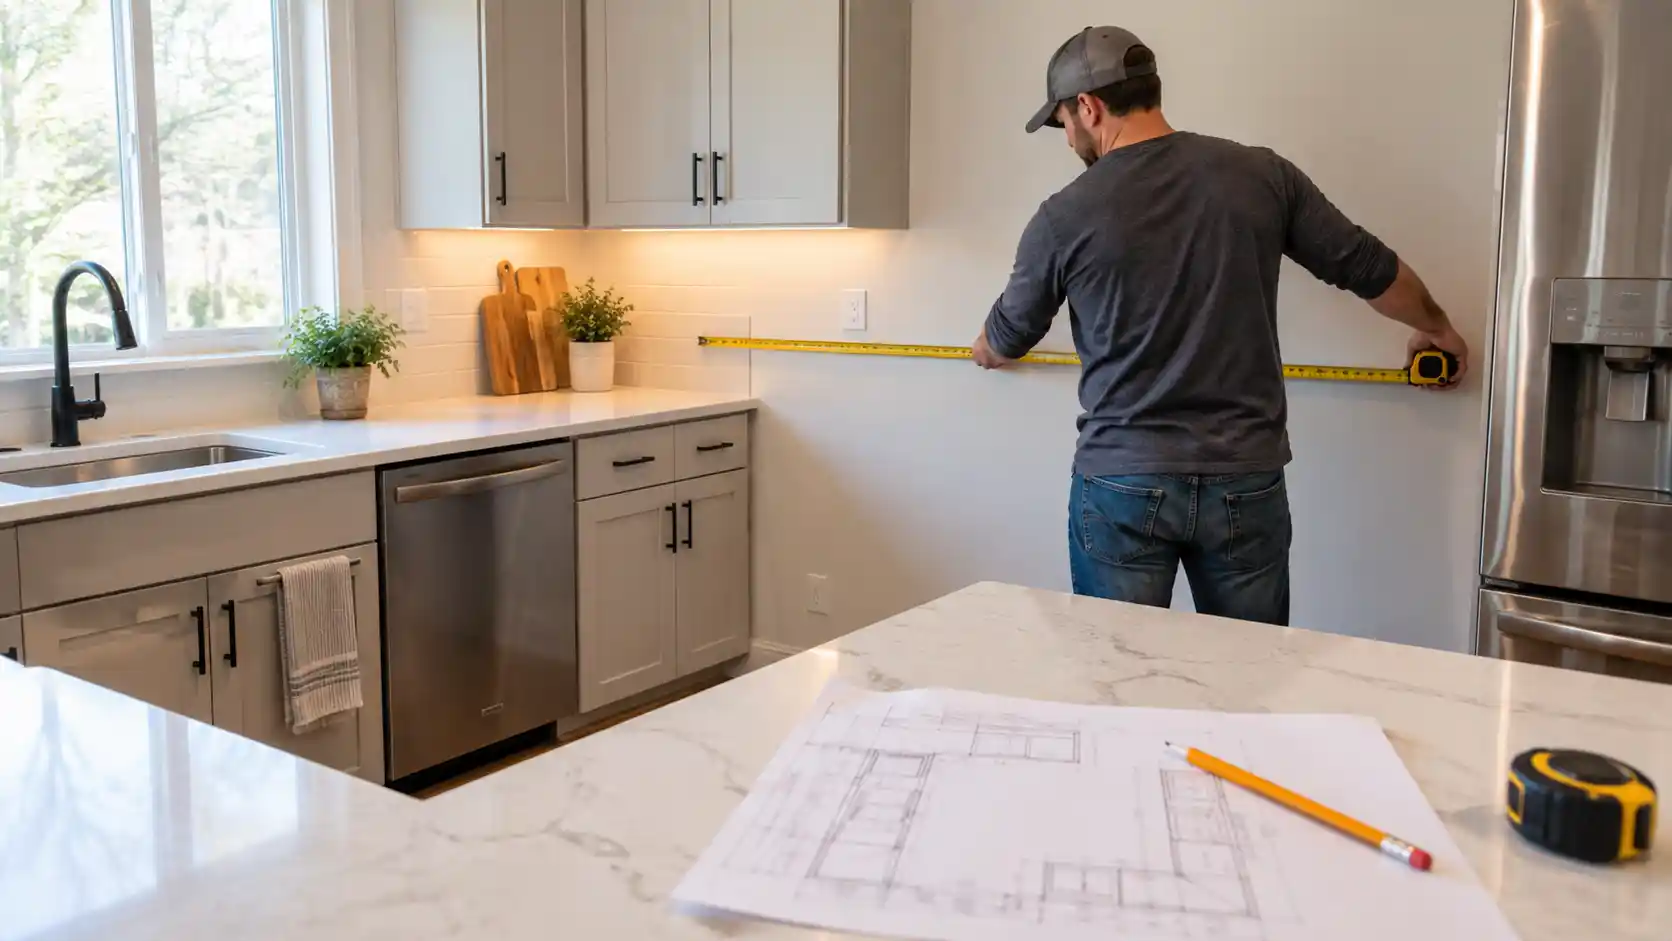
Start with the full length of every wall from corner to corner. Record the total before breaking the wall into smaller sections.
Next, measure the individual sections between windows, doors, appliances, or other fixed features. For example, record the distance from the corner to a window, the width of the window, and the distance from the other side of the window to the next corner.
The smaller measurements should closely match the overall wall dimension when added together. If they do not, measure the wall again. This simple check can catch an error before it carries into the cabinet layout.
For long walls, take measurements carefully and avoid assuming the wall is perfectly straight. Real kitchens often have slight variations that become more important when cabinetry needs to fit tightly between two fixed points.
2. Measure Doors, Windows, and Openings
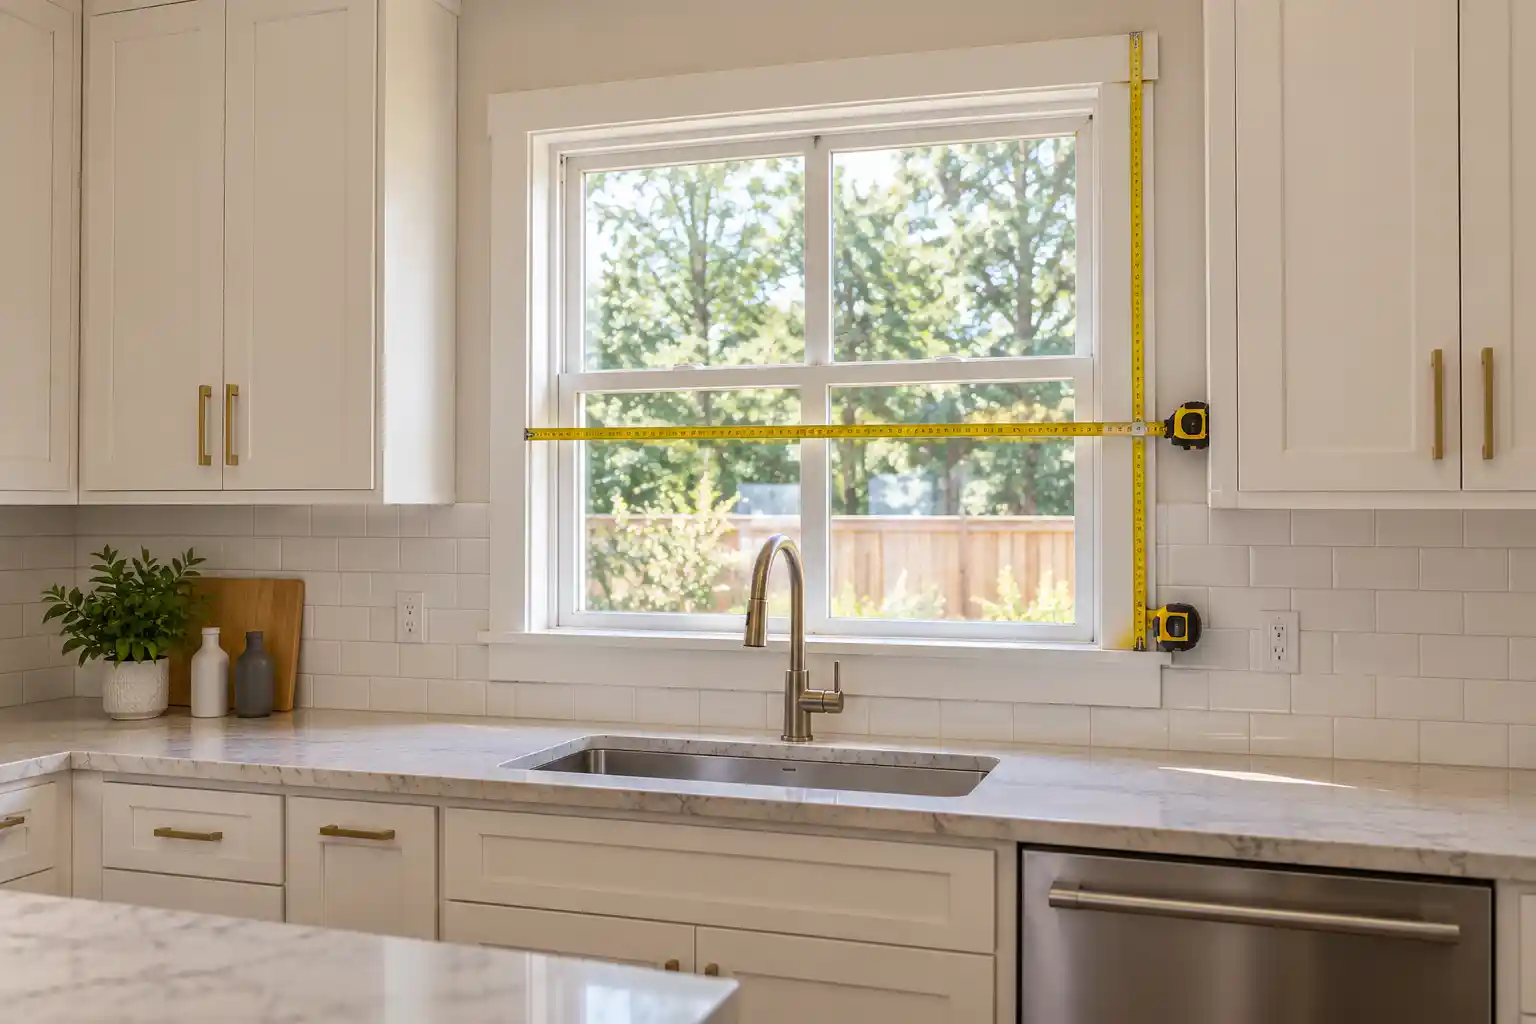
Doors and windows determine where cabinets can start, stop, or change height. Record the width and height of each opening as well as its distance from nearby corners.
For windows, measure from the finished floor to the bottom of the window trim. Also record the overall width and height, including trim that may project into the cabinet or countertop area. This is especially important when a sink or countertop will be installed below a window.
For doors, include the direction of the door swing. A cabinet may fit beside a doorway but still interfere with the door or trim when it opens.
Open passages between rooms should also be measured. Even without a door, these areas can influence how much room is available for cabinets, peninsulas, or islands.
3. Measure Ceiling Height and Soffits
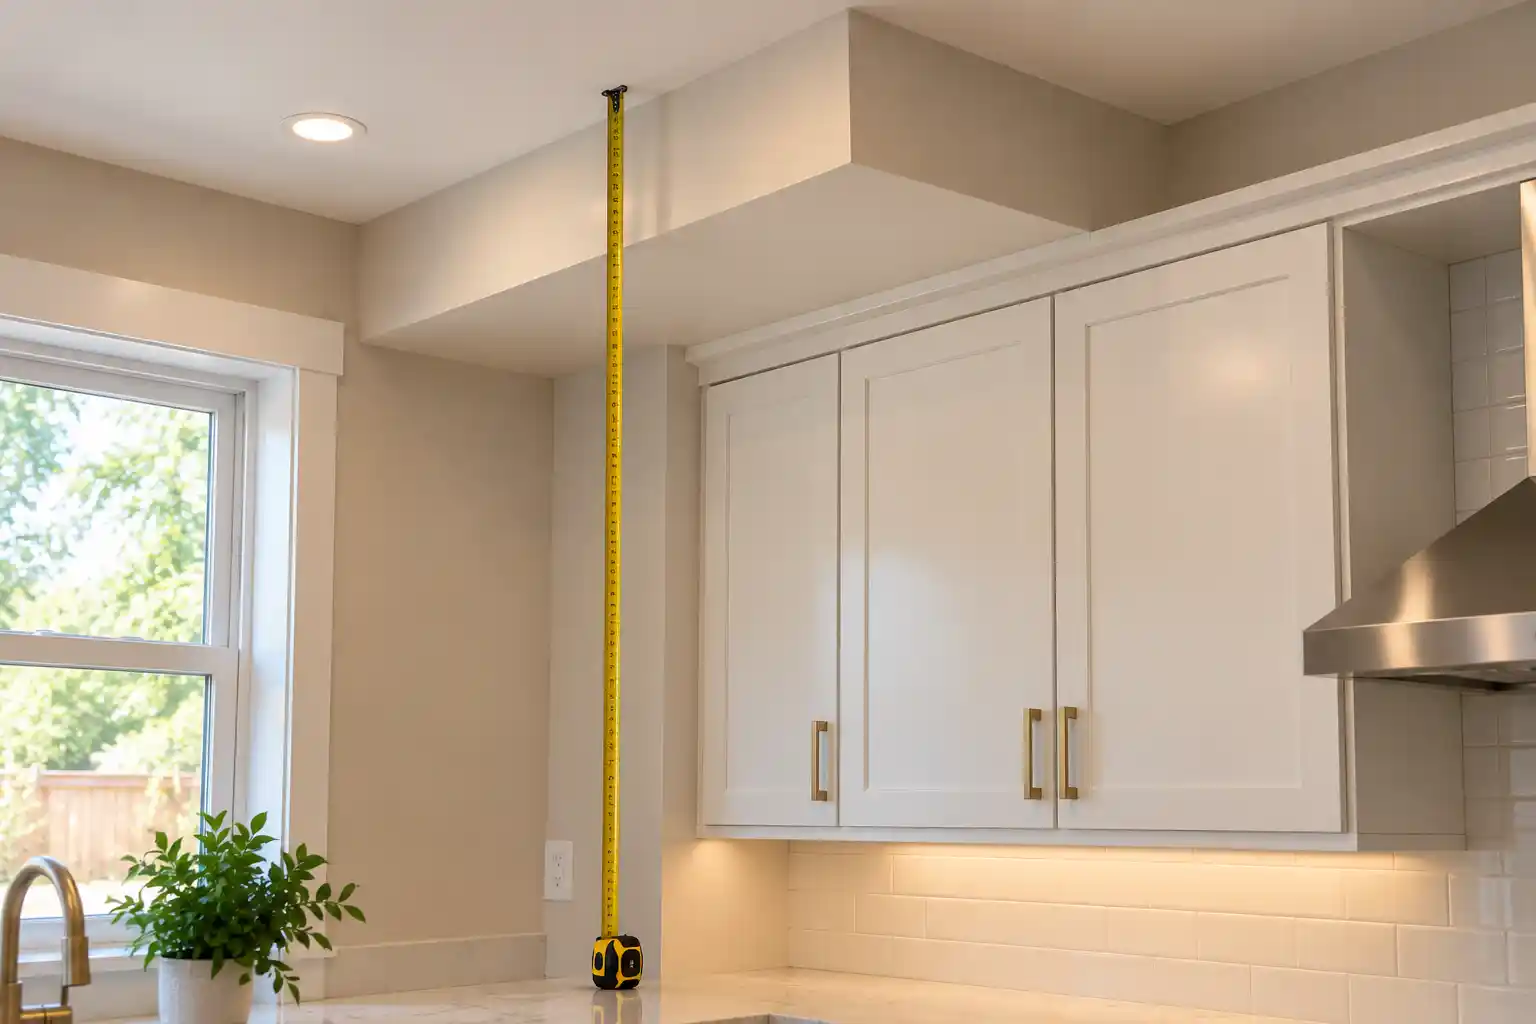
Ceiling height affects wall cabinets, tall pantry cabinets, refrigerator panels, crown molding, and decorative trim. Measure from the finished floor to the ceiling in several locations rather than relying on a single number.
Floors and ceilings are not always perfectly level. A small difference may not be noticeable in an empty room, but it can matter when tall cabinets or molding extend close to the ceiling.
If your kitchen has a soffit, beam, or bulkhead, record its height, depth, and length. These features may determine the height of the upper cabinets or require the cabinet layout to be adjusted around them.
Accurate measurements are particularly important when homeowners want taller wall cabinets or a more built-in appearance near the ceiling.
4. Locate Plumbing, Electrical, Gas, and Ventilation
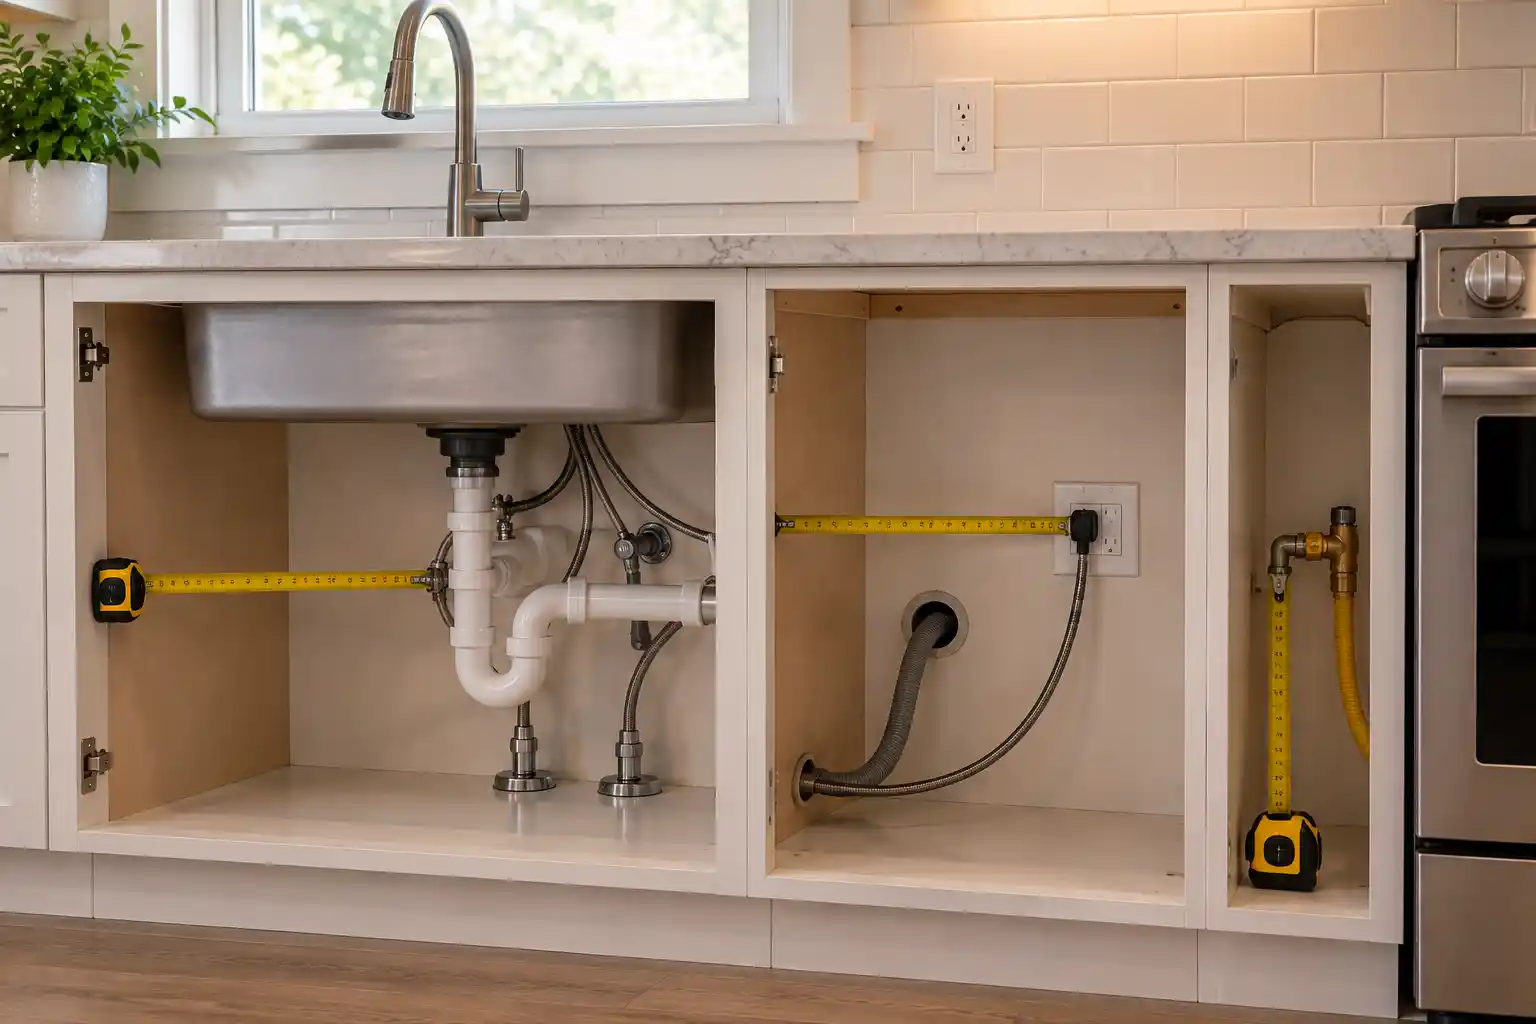
Utilities are part of the kitchen layout, not a separate detail to consider later. Their locations can affect the sink base, dishwasher, refrigerator, cooking area, and ventilation plan.
Measure from a known wall or corner to the center of important connections. Record the sink plumbing, dishwasher connection, refrigerator water line, range electrical or gas connection, outlets, switches, ventilation ducts, and HVAC vents.
If the new cabinet plan changes the location of a sink, dishwasher, refrigerator, or cooking appliance, plumbing, electrical, gas, or ventilation work may also need to change. That can affect both the remodeling scope and the budget. This is one reason it helps to consider utility locations before deciding that an appliance or cabinet should move to another wall.
5. Measure Kitchen Appliances
Appliances should be planned at the same time as the cabinetry. Do not rely only on advertised dimensions such as “30-inch range” or “36-inch refrigerator.”
A 36-inch refrigerator, for example, does not automatically mean the finished cabinet opening should measure exactly 36 inches. The manufacturer’s installation requirements, ventilation, door swing, handles, and surrounding clearances also need to be considered.
If new appliances have already been selected, keep the model numbers and manufacturer specifications with your kitchen measurements. These documents provide much more reliable planning information than nominal appliance sizes.
Refrigerator Measurements
Measure the refrigerator’s width, height, and depth. Include the door and handle projection, especially if the refrigerator sits close to a wall, pantry cabinet, or countertop.
Door swing is just as important as appliance width. Some refrigerators need additional side clearance for the doors to open far enough to access interior drawers and shelves.
Also consider the finished cabinet or panel depth around the refrigerator. A properly planned refrigerator area should look integrated without restricting how the appliance functions.
Range and Cooktop Measurements
Measure the width and depth of the cooking appliance and note whether it is freestanding, slide-in, or built-in. Different appliance types can require different cabinet and countertop conditions.
Record the electrical or gas connection as well. If a hood or over-the-range microwave is planned, note its dimensions and ventilation requirements.
The relationship between the range, nearby drawers, countertop space, and upper cabinetry should be considered as part of the full kitchen design.
Dishwasher Measurements
Measure the dishwasher opening and confirm the appliance’s actual width, height, and depth. Most dishwashers are placed near the sink, but the surrounding layout still needs careful planning.
Check that the dishwasher door can open without blocking an important walkway or hitting an island. Its position should also allow convenient access to the sink, dishes, and nearby storage.
Wall Ovens and Built-In Appliances
Built-in ovens, microwaves, coffee systems, and similar appliances often require specific cabinet openings. These dimensions can vary significantly by brand and model.
For built-in appliances, manufacturer specifications should guide the final cabinet design. The cabinet should be planned around the required cutout, ventilation, electrical connection, and installation clearance rather than an assumed standard size.
Understand Standard Kitchen Cabinet Dimensions
Common kitchen cabinet dimensions can help you understand how the room may be planned, but they should be treated as general references. Actual sizes and available configurations vary between cabinet manufacturers and product lines.
Base Cabinet Dimensions
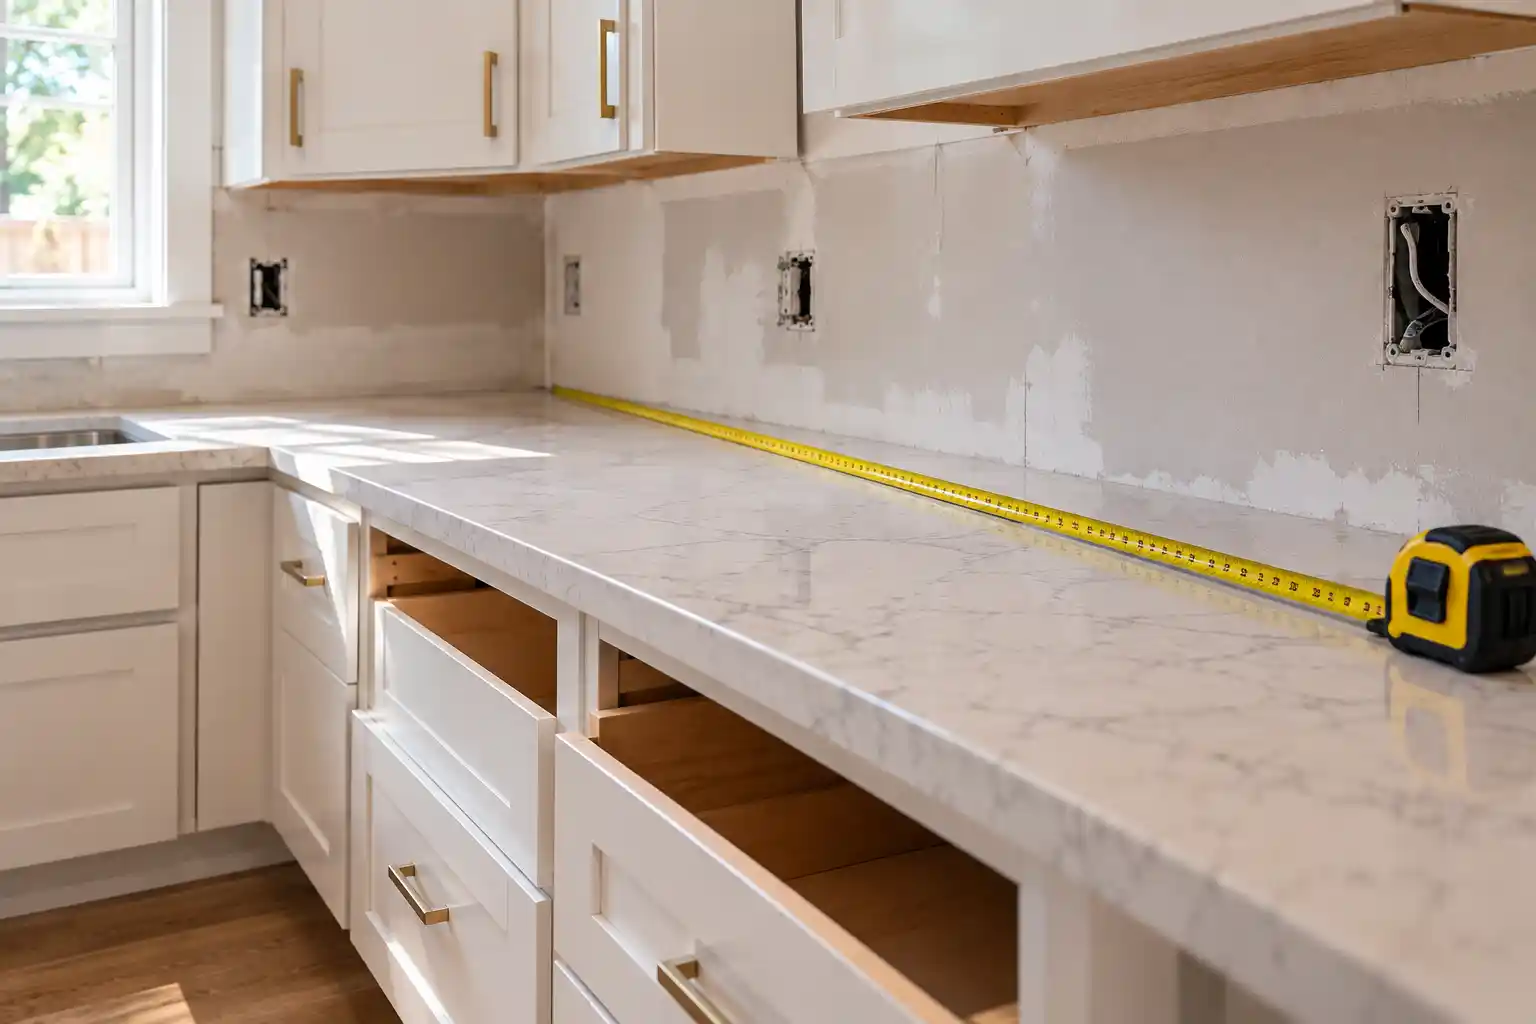
A standard base cabinet box is commonly about 34 1/2 inches high and 24 inches deep before the countertop is installed. Once the countertop is added, the finished work surface is often close to 36 inches high.
The finished countertop depth is usually greater than the cabinet box depth because the countertop extends beyond the cabinet face. That overhang should be considered near walls, doorways, islands, and other tight areas.
Base cabinets are available in many widths depending on their purpose. Drawer bases, sink cabinets, pull-out storage, and specialty cabinets may all require different sizes.
Wall Cabinet Dimensions
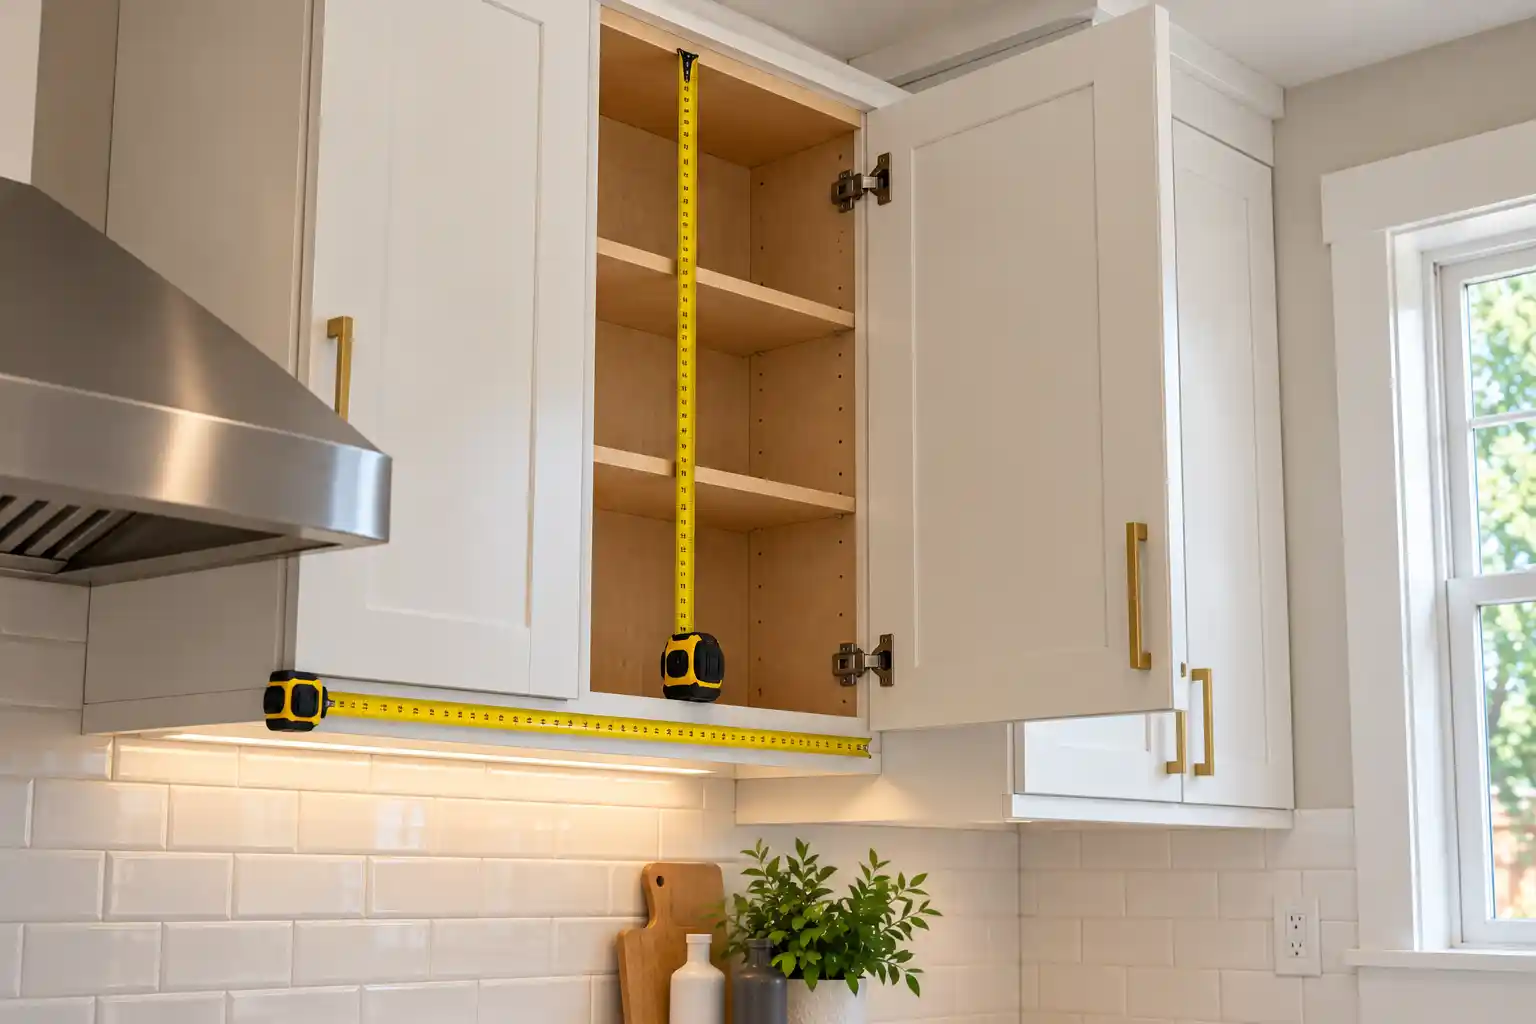
Wall cabinets are commonly around 12 inches deep, but that is not a universal rule. Cabinets above refrigerators and some specialty storage areas may be deeper.
Common wall cabinet heights include 30, 36, and 42 inches, although other sizes may be available. The right height depends on the ceiling, backsplash space, cabinet style, crown molding, and desired storage. Accurate ceiling measurements become more important when taller wall cabinets are being considered.
Tall and Pantry Cabinet Dimensions
Tall pantry and utility cabinets are available in different heights, with 84, 90, and 96 inches being common examples.
These cabinets need careful planning because their height leaves less room for adjustment. Floor level, ceiling height, trim, and nearby wall conditions all matter when trying to create a clean finished installation.
Account for Fillers, Panels, and Trim
A good cabinet layout does not always fill every available inch with cabinet boxes. Small fillers are often necessary near walls, corners, appliances, and tall cabinets so doors and drawers can operate properly.
Decorative end panels, refrigerator panels, applied doors, crown molding, and other finished details also take up space. Countertops may project beyond the cabinet box as well.
Measuring for new cabinets is therefore not just about determining how many cabinet boxes can fit along a wall. The design needs to account for the complete installed system, including clearances and finished details. Trying to eliminate every small gap on the drawing can sometimes create more installation problems than it solves.
Should You Measure Existing Cabinets?
Existing cabinets can provide helpful reference information. You may want to record their widths, countertop height, appliance openings, sink location, and the size of an existing island.
However, the new layout should not be based only on the cabinets that are already there. The original installation may contain fillers, unusual spacing, or design compromises that you do not want to repeat.
Measure the actual room first. Then use the existing cabinets to understand what currently works, what does not, and where storage or layout could be improved. This is especially useful when homeowners are deciding whether to keep the same general kitchen footprint or make more meaningful changes to the cabinet layout.
Common Kitchen Cabinet Measuring Mistakes
Small measuring errors can affect cabinet fit, appliance placement, and installation. Before finalizing a layout, make sure you avoid these common mistakes:
- Measuring only the existing cabinet runs: This can leave out doors, windows, trim, wall irregularities, utility locations, and other areas that may affect the new design.
- Assuming walls and corners are perfectly square: Many kitchens have slight wall or corner variations that can affect cabinet alignment, fillers, and countertop fit.
- Using only advertised appliance widths: A listed appliance size does not always match the exact opening needed. Door swing, handles, ventilation, and installation clearances must also be considered.
- Rounding measurements too much: Small differences can add up across a long cabinet run and create problems when cabinets are installed.
- Ignoring soffits, beams, or trim: These features can reduce usable wall space or affect the height and placement of wall and tall cabinets.
- Forgetting cabinet fillers and clearance space: Fillers may be needed near walls, corners, and appliances so doors and drawers can open properly.
- Missing utility locations: Plumbing, electrical outlets, gas lines, and ventilation can influence where cabinets and appliances should be placed.
- Measuring only once: Rechecking major dimensions can help catch errors before they affect the cabinet order or final layout.
What Happens After Your Kitchen Is Measured?
Once reliable room dimensions are available, the project moves from measuring into cabinet design. The next stage is determining how base cabinets, wall cabinets, drawers, pantry storage, appliances, and work areas should fit together. This is also when homeowners can compare cabinet styles, finishes, storage features, countertops, and other design details.
The process usually moves from understanding the room to creating the layout, reviewing the design, selecting the cabinetry and finishes, confirming the final dimensions, and preparing for installation.
This is where professional cabinet planning can add the most value. Measurements establish the boundaries of the room, but the design determines how well the finished kitchen uses that space.
Professional Kitchen Cabinet Design and Installation in Orland Park
If you are starting a kitchen cabinet project in Orland Park, your own measurements can help begin the conversation. They do not need to answer every design or installation question before you speak with a cabinet professional.
Kitchen Cabinet Design works with homeowners to turn room dimensions into a complete cabinet plan. That includes reviewing the layout, considering appliance locations and clearances, selecting cabinet configurations, planning storage, coordinating countertops and finished details, and preparing the kitchen for professional cabinet installation.
Whether you are keeping the existing kitchen footprint or changing the layout, the process should move logically from measurement to design, cabinet selection, final planning, and installation.
That approach reduces guesswork and helps ensure the cabinets are planned around the actual kitchen rather than a set of assumed dimensions.
If you are considering new kitchen cabinets, bring your preliminary measurements, kitchen photos, and appliance information to the Kitchen Cabinet Design showroom in Orland Park. The team can help you review the space, compare cabinet options, and develop a layout that is ready for the next stage of your kitchen project.